4 min
November 30, 2025
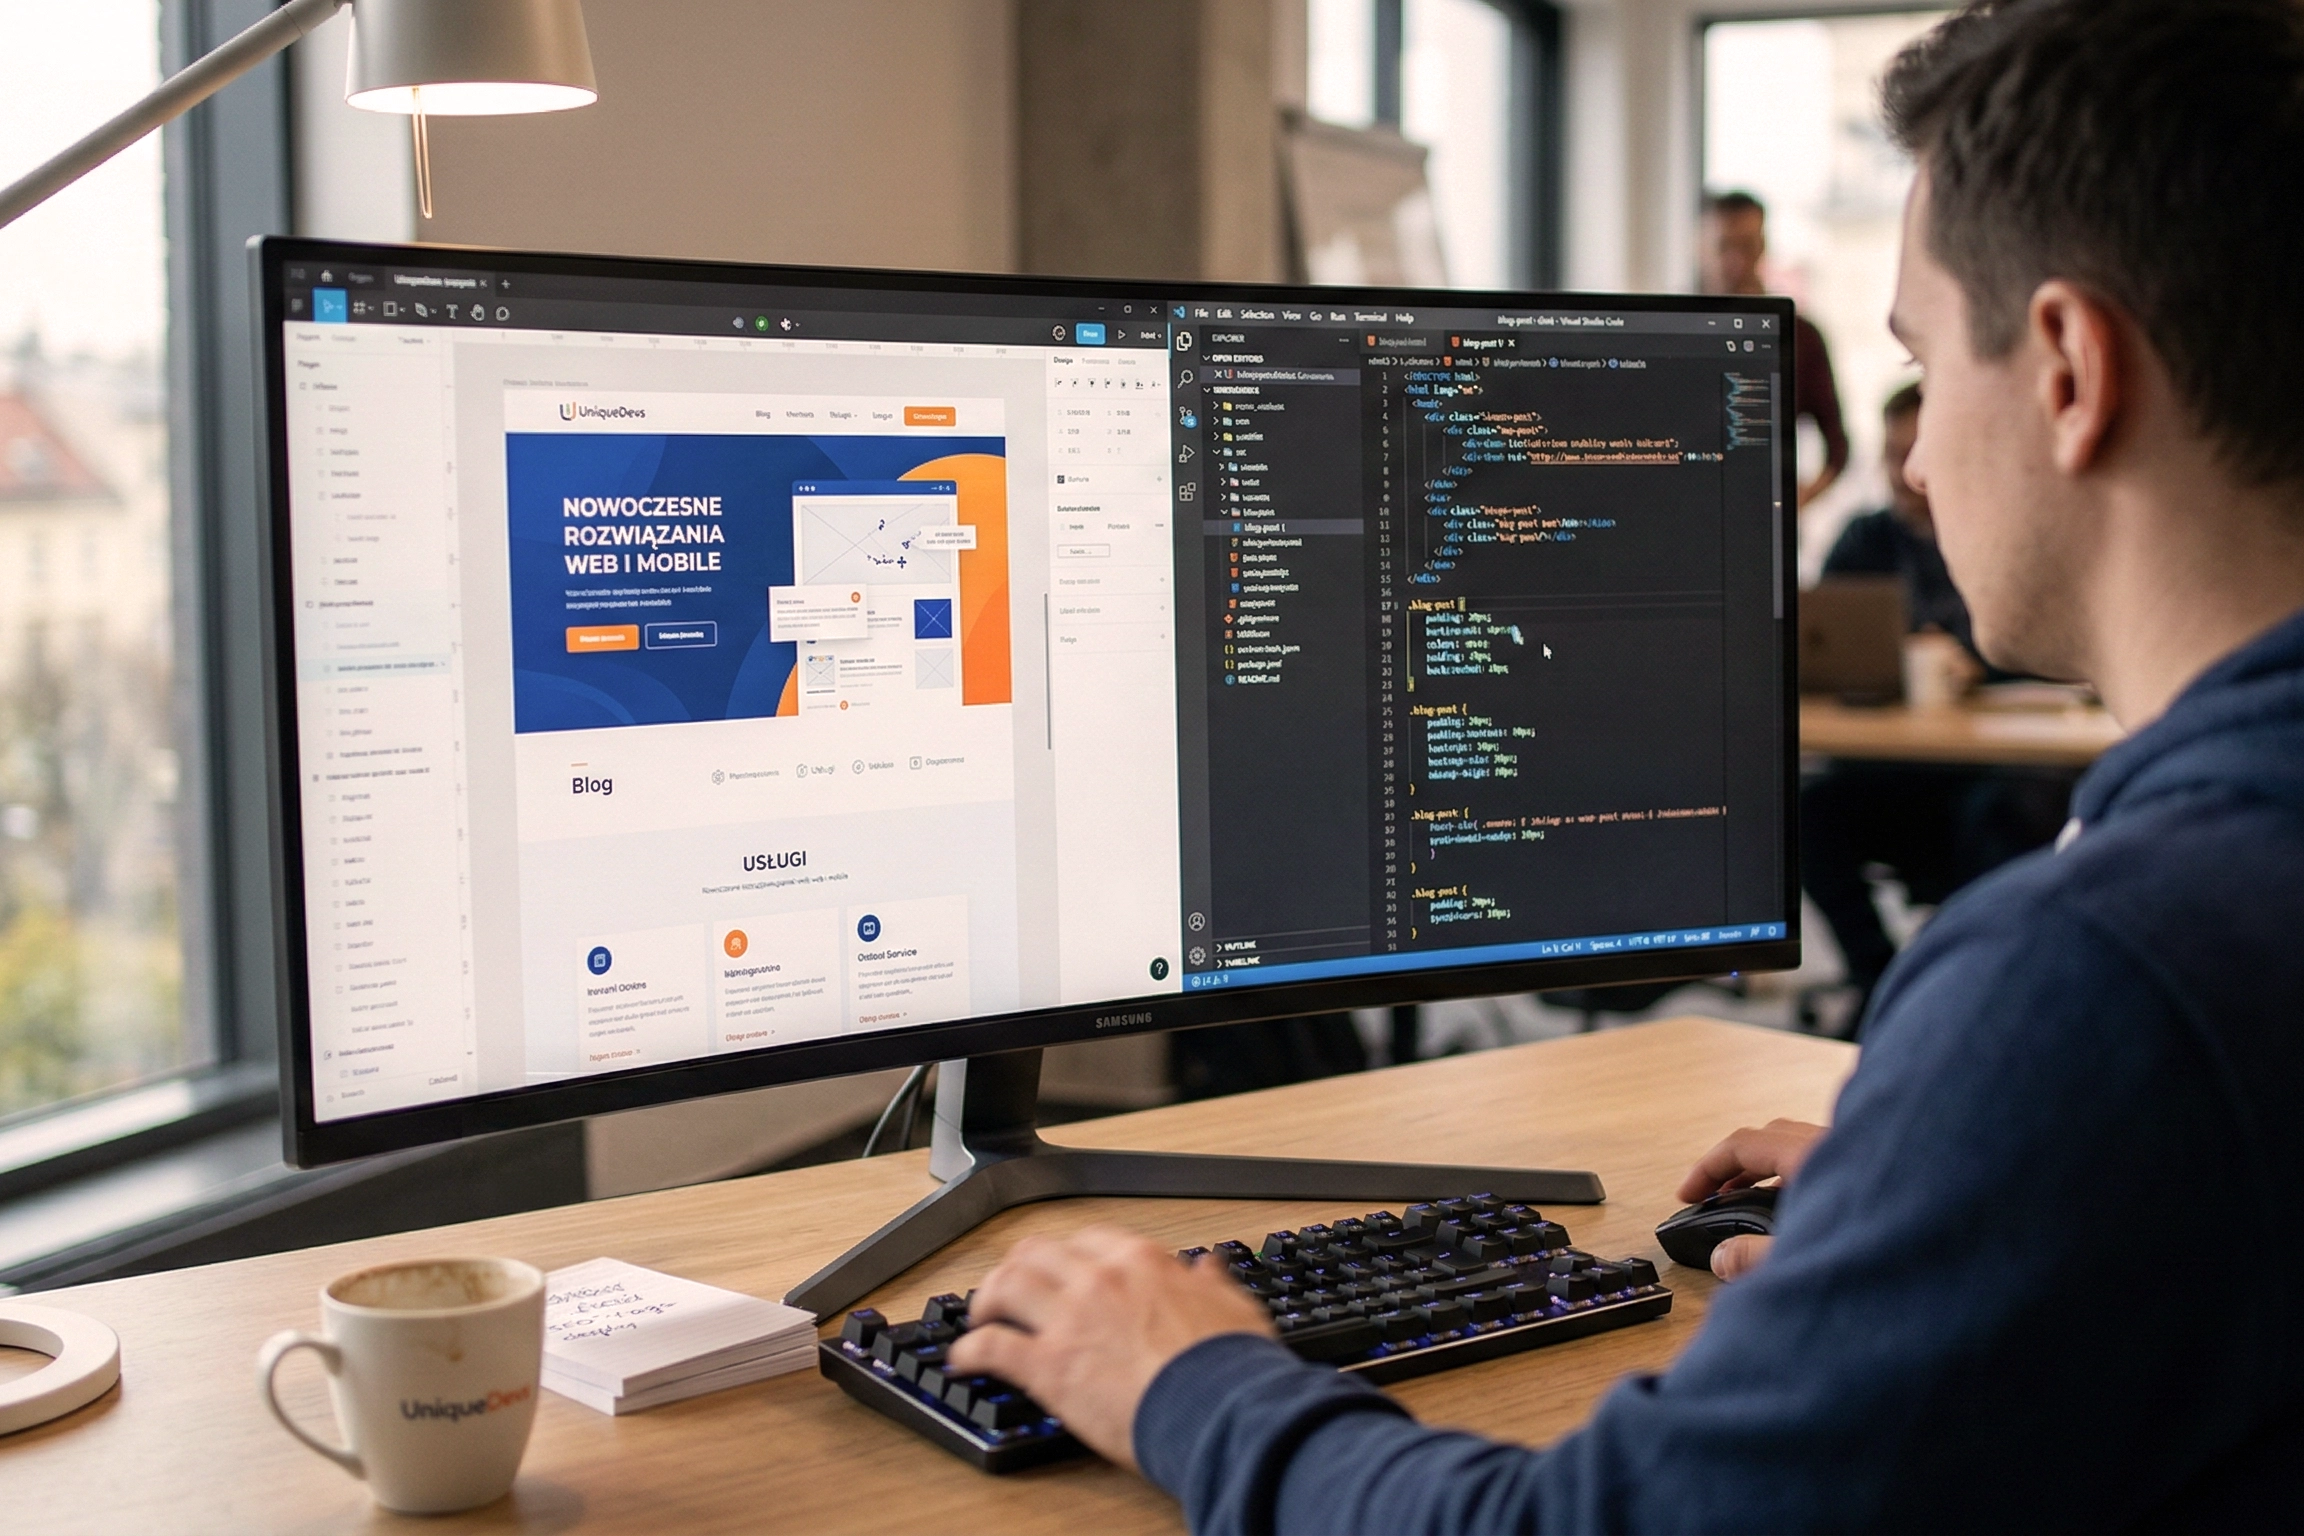
A dedicated CMS is created through needs analysis, module design, and implementation of a flexible...
Learn more 


Want to create your own website, but have no technical experience? WordPress is the perfect solution - it's free, flexible and extremely popular. With it you can build a company website, blog, portfolio or even a simple online store on your own. Most importantly: you don't need to know HTML or coding - it only takes a few clicks to launch a professional site. In this step-by-step guide, we'll show you how to set up a site on WordPress - from buying a domain and hosting, to installing the system, to personalizing the look and publishing the first content. Everything simply, practically and based on current solutions for 2025.
The first step to creating your own website on WordPress is to choose a domain and hosting. A domain is the address of your site on the Internet, under which users will visit it – for example, mojanazwa.pl or yourfirma.com. It’s not just a technical element, but also part of your image – so it’s worth thinking carefully about the name. It should be as short as possible, easy to remember and unambiguously associated with the theme of the site. If you are creating a site for a Polish audience, the .pl extension will usually be the best choice. Before registering, it’s a good idea to check whether the name is already taken or registered as a trademark.
Hosting is a service that provides space on a server where all your website files will be stored – content, photos, database, themes, and plugins. Well-chosen hosting is crucial for the speed, security, and stability of your website. To launch a WordPress website, you need a server with PHP support and a MySQL or MariaDB database. Other key elements include an SSL certificate, which secures the connection (https:// address), automatic backups, and an intuitive management panel that will make your work easier, especially in the beginning.
In summary, when choosing a hosting provider, pay attention to issues such as:
Currently, most hosting providers offer WordPress installation using simple automatic tools. This is a very convenient solution.


Before you proceed with the WordPress installation, you need to connect your domain to your hosting so that your website can be visible on the internet. The easiest way to do this is to purchase both the domain and hosting from the same provider. In this case, you don’t need to manually change the DNS records – the domain is usually automatically assigned to the server and everything works almost immediately. This is definitely the most convenient solution, especially for beginners.
However, if you decide to purchase the domain and hosting from two different companies, you will need to manually specify which server the domain should use. To do this, copy the DNS addresses you received from your hosting company (you will usually find them in your welcome email or customer panel), then log in to your account with the company where you registered your domain and change the DNS according to the instructions.
At this point, it is also worth taking care of the security of your website and adding an SSL certificate, which allows for an encrypted connection (i.e., an address beginning with https://). In most cases, this can be done in the hosting panel with a single click – the Let’s Encrypt certificate is usually available for free. Once activated, browsers will no longer warn users that your website is unsafe.
Please note that the details of this configuration may vary depending on the company. If you encounter any difficulties, do not hesitate to contact Customer Service – they are usually very helpful in completing these steps.
Once you have an active domain and hosting, it’s time to install WordPress – the system that will be the “engine” of your website. The good news is that in most cases you don’t need to download or install anything manually. Most hosting companies offer a “one-click” WordPress installer – just log in to your customer panel, select your domain, click the “Install WordPress” button, and fill in some basic information, such as the name of your website, login details for the admin panel, and the language of the website.
The installation process usually takes no more than a few minutes. Once completed, you will have access to the WordPress admin panel, located at yourdomain.com/wp-admin. There, you can log in to WordPress using the username and password you provided during installation.
After logging in for the first time, you will find yourself in the WordPress dashboard – the center of your website management. From here, you will be able to add new pages and posts, install themes and plugins, manage menus, media, comments, and customize the appearance and functionality of your website. The interface may seem a bit overwhelming at first, but you will quickly learn how to use the basic features – WordPress is intuitive and very well documented.
At this stage, your website is technically ready for further configuration and personalization. The next step is to choose the right theme that will give it a look that suits your needs.
Your website is up and running, WordPress is installed – it’s time to give it a unique look. In WordPress, the appearance of your website is determined by themes, which you can install, change, and customize as you wish. They determine the layout of your website, fonts, colors, and often the available visual features.
WordPress installs several simple themes by default (e.g., “Twenty Twenty-Four”), but there’s nothing stopping you from changing them right away to something more modern and suited to the purpose of your website.
It’s very simple:
yourdomain.com/wp-admin)In just a few seconds, your website will have a completely new look.
Not every theme is suitable for every type of website. It is worth choosing one that:
If you are building a company website, look for business themes. If you run a blog, minimalist and light templates will work perfectly. For a portfolio or art website, choose something more graphic and visually appealing. Check out our article “WordPress templates” –
WordPress offers thousands of free themes available directly from the dashboard. This is often enough to get you started. However, if you want more advanced features, a unique look, or technical support, consider purchasing a premium theme.
Paid themes usually offer:
Once you activate a theme, you can start customizing it – that is, adjusting colors, logos, fonts, and other elements. In WordPress, this is done in the Appearance → Customize tab. There you can set, among other things:
Some themes also offer their own settings panels – you’ll find them in a separate tab in the WordPress panel.
Your website now has a design, but it is still empty. It is time to add content and structure, i.e. add basic subpages and create a menu that will allow visitors to easily navigate around it.
In WordPress, each “subpage” is simply a page. This is different from posts, which are used to run a blog or publish news. In this step, we will focus on pages, as they form the basic framework of your website.
1. In the WordPress panel, go to the Pages → Add New tab.
2. Give the page a title, e.g. “About us” or “Contact.”
3. Enter the content in the block editor – you can add headings, text, photos, galleries, buttons, and other elements.
4. Click Publish – the page will immediately become visible online.
You don’t have to create the entire website right away – WordPress allows you to edit it at any time.
Here is the most common set of pages for a simple business or personal website:
For a blog, the following will also be useful: Blog / Posts, Categories, Archive.
After creating several pages, it is a good idea to organize them into a clear menu.
Your menu will appear automatically in the header of the page – its exact position depends on the theme you are using. Some themes also allow you to add a second menu in the footer or sidebar.
Tip: When creating a menu, make sure it is not too extensive. Four to six items are usually enough. Users value simplicity and intuitive navigation – the faster they find what they are looking for, the better for you.
At this stage, your website is already up and running and looking better and better, but before you start promoting it, it’s a good idea to organize the most important system settings. These are what affect how WordPress works behind the scenes, how it looks to users, and how it is perceived by search engines.
Without proper configuration, even an aesthetically pleasing website can be unintuitive or difficult to find on Google. That’s why it’s worth taking a moment to configure the basic settings.
Go to Settings → General. Set the following:
This information appears in the browser bar and in search results. Make sure it is concise and accurate – it is the first thing a potential visitor will see.
In the Settings → Reading tab, you can decide what will be displayed on the home page.
You have two options:
– latest posts – if you want to run a blog, the default setting will be appropriate,
– static page – if you are creating a company website, for example, select a previously created home page and a separate blog page (if you want to run a blog later).
This is a crucial moment – it determines what the user will see when they enter your website address.
The default form of addresses in WordPress (e.g. yourwebsite.com/?p=123) looks unprofessional. Change this in Settings → Permalinks by selecting the “Post name” option. This will make your addresses short, readable, and more SEO-friendly.:
✅ yoursite.com/about-us/
❌ yoursite.com/?page_id=45
It’s a small change, but it makes a big difference in the perception of the site.
Go back to Settings → General and make sure you have the Polish language and time zone set: Europe/Warsaw. This will ensure that entry dates, publication times and system messages are displayed correctly.
By default, WordPress allows users to add comments under pages and posts. If you don’t run a blog or don’t want to moderate comments, it’s a good idea to disable this feature. Simply go to Settings → Discussion and uncheck the option to allow comments on new content.
This isn’t just a matter of aesthetics – you’ll also reduce the risk of spam and unwanted messages.
After making the above settings, click Save Changes at the bottom of each configuration page. Done! Now your website is not only attractive, but also logically configured and ready to publish content or show it to the world.
Depending on the purpose of your website, you can now:
– add content – refine your text, add graphics, optimize the layout,
– check how it works on different devices – make sure that the website looks good on phones and tablets,
– add basic SEO information – page titles, headings, descriptions (if you want to be visible on Google),
– integrate analytics tools – e.g. Google Analytics to track traffic,
– update your website regularly – nothing works worse than a website that has been “dead” for months.
Creating your own website may seem complicated, but with WordPress, the whole process is surprisingly simple – even for people with no technical experience. In this step-by-step guide, we showed you how to go from choosing a domain and hosting, through installing WordPress and selecting a theme, to configuring the most important settings for your website. You’ve learned how to create subpages, build menus, change the link structure, and disable comments when they’re not needed. All this to make your website not only beautiful, but also functional, secure, and ready to go. You now have a solid foundation – you can develop your website in any direction you want: as a blog, company showcase, portfolio, or simple store. The most important thing is that you’ve taken the first step. Remember – a good website is not just about design, but also a clear structure, readable content, and regular updates. Good luck with your future projects!