4 min
November 30, 2025
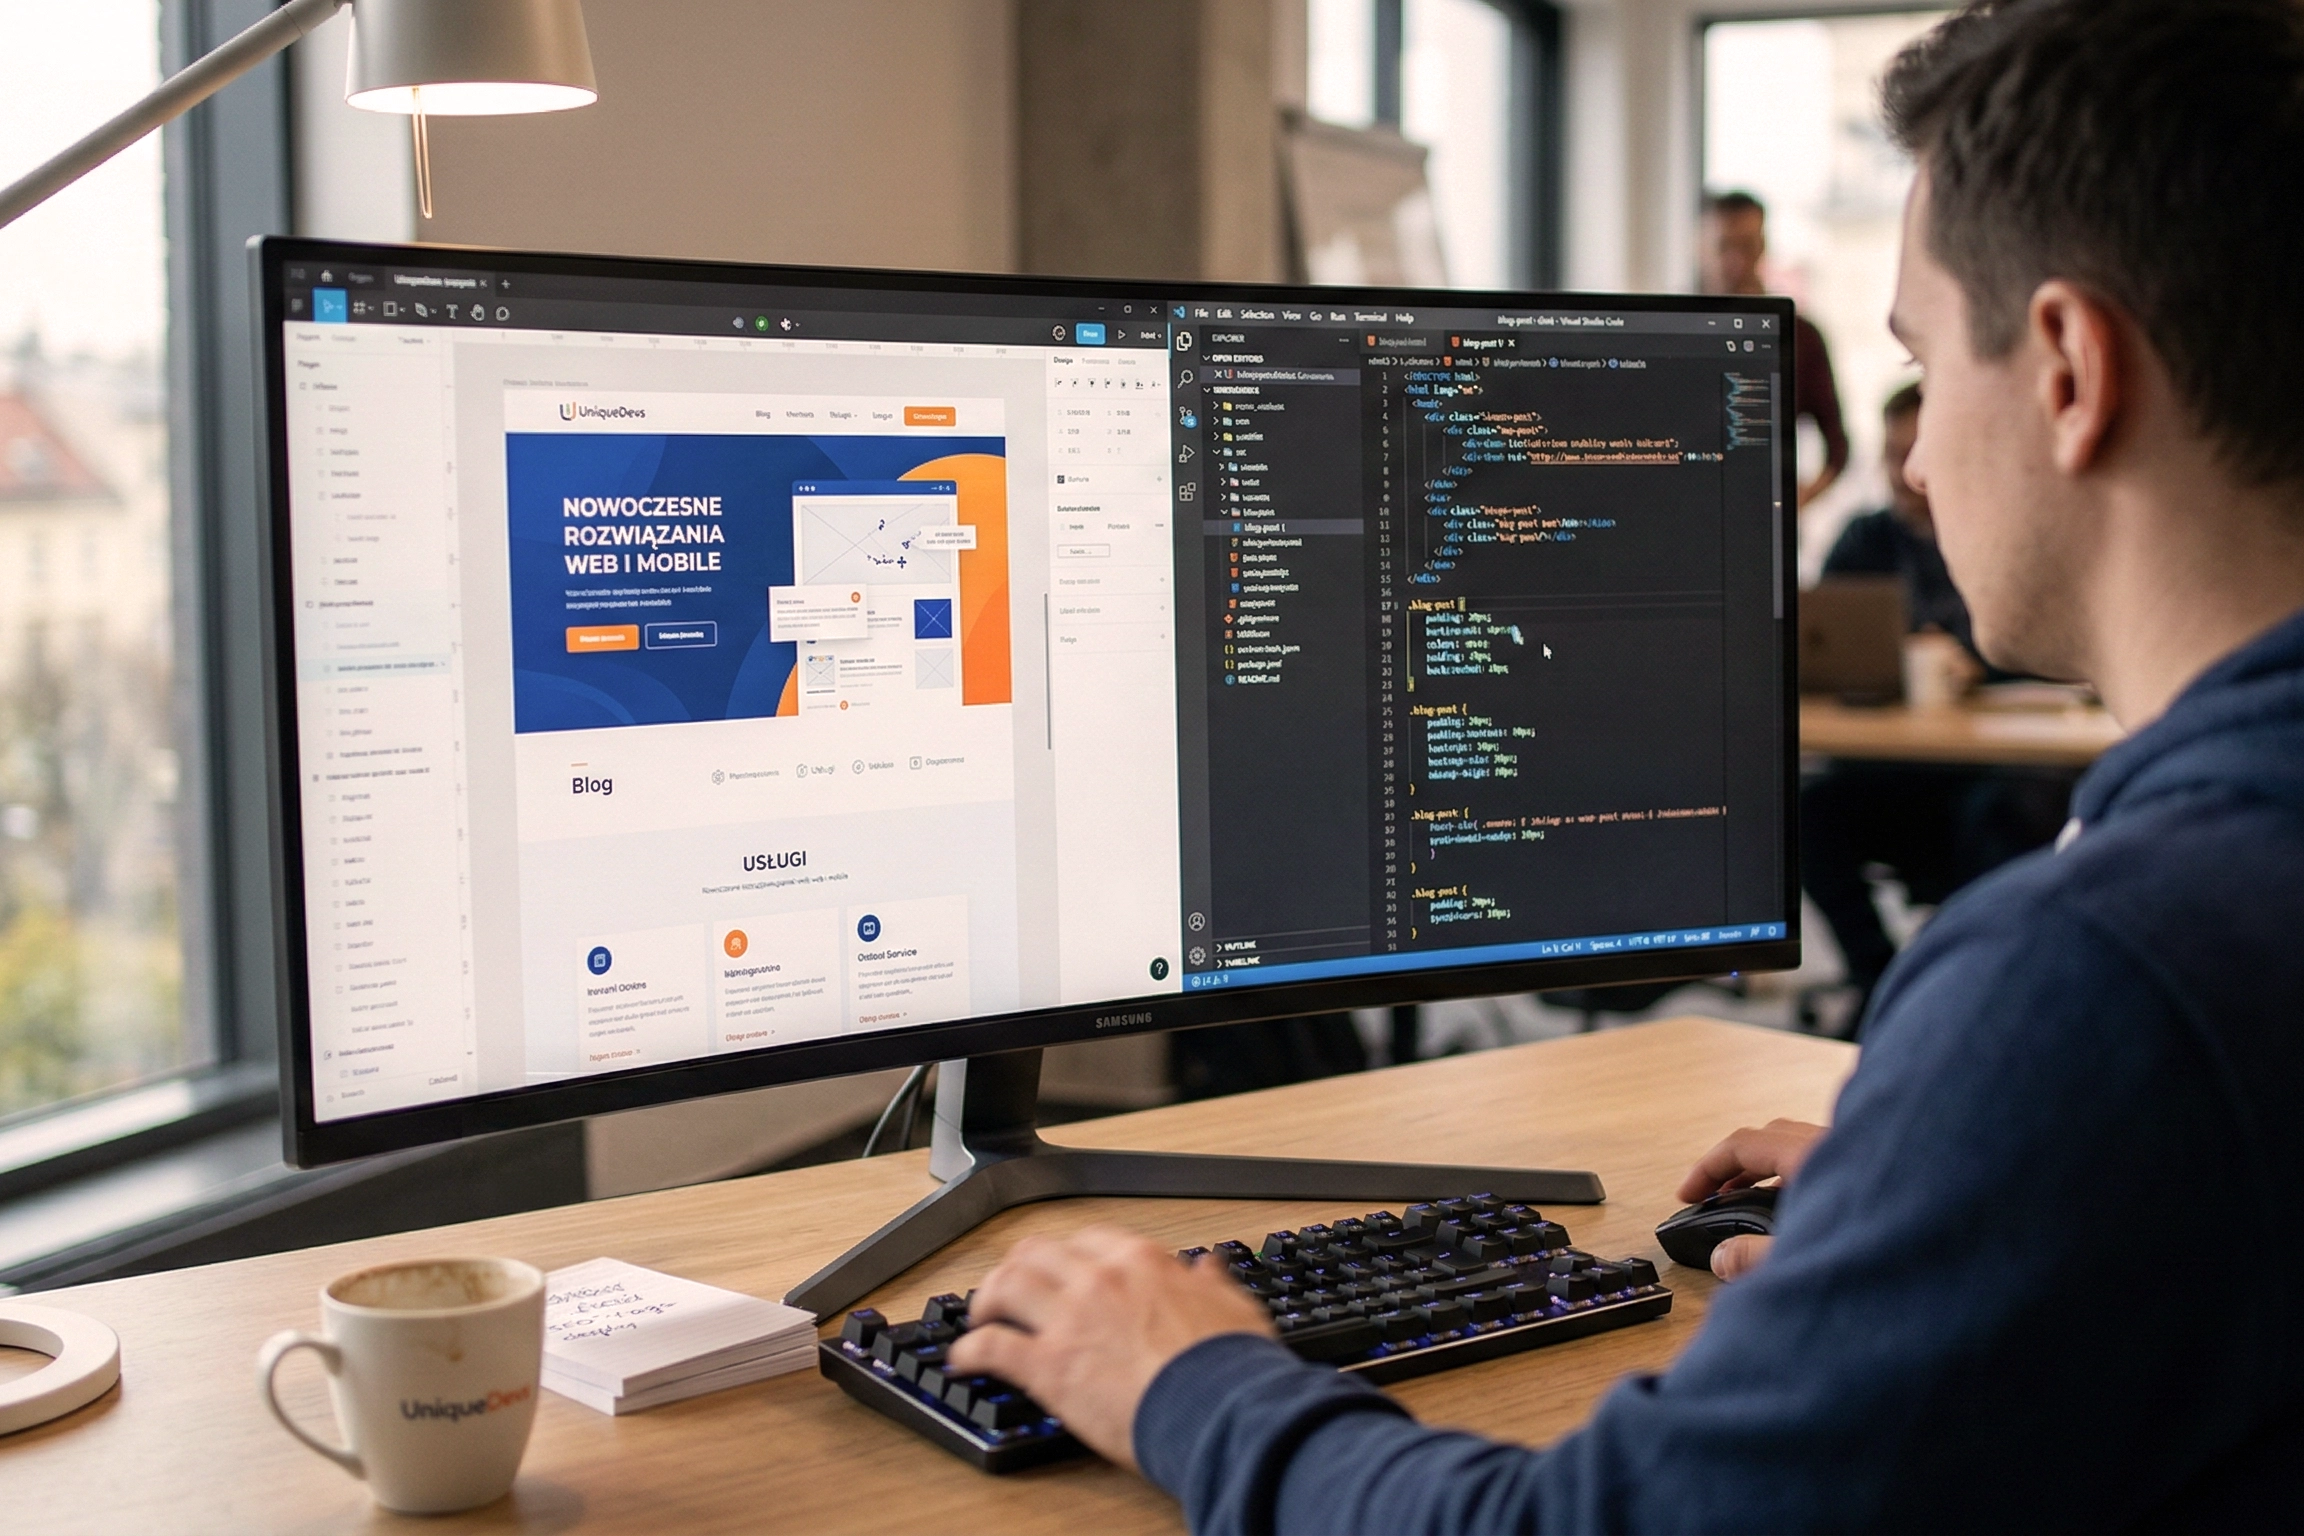
A dedicated CMS is created through needs analysis, module design, and implementation of a flexible...
Learn more 


WordPress is one of the most popular content management systems (CMS), used to create websites, blogs and online stores. Its installation is a simple process, but requires a few steps, especially for those who are new to the tool.

Before you move on to installing WordPress, you need to choose the right hosting and domain. Hosting is a key element for the speed and stability of your site, and a domain is the business card that your users will type into their browser to visit your site.
Remember, for hosting to meet the minimum technical requirements of WordPress:
Downloading WordPress is the first step to installing it. WordPress is open source, which means you can download it for free from the official website. This is always the best and safest source for downloading the current version of the system.
Remember! Always download WordPress from trusted sources to avoid security and file compatibility issues.


WordPress requires a database to store content and settings, such as blog posts, user data, comments or site configuration information. A database is such a central repository that enables real-time dynamic site generation, which is crucial for WordPress’ flexibility and functionality.
To create a database:
Write down the database name, user name and password, as you will need them in the next step.
Important! The database is an essential part of WordPress’ operation, because without it, the system could not store and read the information needed to display the site’s content.
To install WordPress, you need to upload the installation files to your server. This process may seem complicated, but it’s actually quite simple if you use tools such as an FTP client. The installation files must go to the correct directory on your server for WordPress to work properly.
Remember! Make sure that no files are missed during the transfer. Correctly transferring all WordPress files to the server is crucial for your site to work properly.
Once the files have been uploaded to the server, you can start installing WordPress using the built-in installer. The process is intuitive and will guide you step-by-step through the site setup.
If the data is correct, the installer will proceed to the next step. Otherwise, check the correctness of the entered information.
Installing WordPress, is a simple process that can be done even without advanced technical knowledge. Using this guide, setting up your own website becomes easy and fun.
Yes, you can install WordPress on a local server using tools such as XAMPP or WAMP. Such an installation is mainly for testing and learning before deploying the site to a live server.
Yes, WordPress is open source software and you can install it free of charge. However, you’ll have to factor in the cost of hosting, domain and possible add-ons such as paid themes or plugins.
The most common problems are database connection errors. Check the correctness of the entered data, such as the database name, user and password. Also make sure that the database server is working properly.
The hosting must support PHP version 7.4 or later, MySQL 5.7+ or MariaDB 10.3+, and HTTPS for secure data transfer.
Yes, installing WordPress is beginner-friendly. Many web hosts offer “one-click” installers that perform the entire process automatically.